
Icinga2 container installation tutorial
Corporate cloud services and IT infrastructure are becoming more critical every day; outages cost in lost productivity, time spent in repair, and in some cases lead to loss of data or customers
The Icinga2 monitoring, notifies us in real time of problems, before they become critical and reduces analysis time before intervention, giving us confidence that everything is up, running and constantly monitored
We can track historical trend graphs, gives us the ability to deploy hundreds of thousands of plugins, to monitor services, applications and devices, manage notification schedules and much more, having unparalleled flexibility
Icinga2 installation
For this test, we can use a small Google Cloud instance (g1-small 1 vCPU 1.7 GB Ram), based on Debian, with installed Docker
We run the container Icinga2 enabling port 80 forwarding that will allow us to access the web interface and director, which we will use for host configuration
#!/bin/bash
docker run \
  --name test_icle \
  -p 80:80 \
  -e ICINGA2_FEATURE_DIRECTOR=1 \.
  -e ICINGAWEB2_ADMIN_USER=icingaadmin \
  -e ICINGAWEB2_ADMIN_PASS=icinga \
  -t jordan/icinga2
Connecting to the Web
The monitoring system, offers a very powerful Icingaweb2 interface, responsive on mobile, and a manager of configurations called Director.
Through interface it is possible to define all necessary host features, services, notifications and checks.
To connect we open our favorite browser at http://
The defaul passwords are in the container configuration and changeable in the startup script:
user: icignaadmin
password: icing
First host configuration
The director uses Templates extensively to apply elements recursively.
First we need to create a standard template, and then apply it in the creation of hosts.
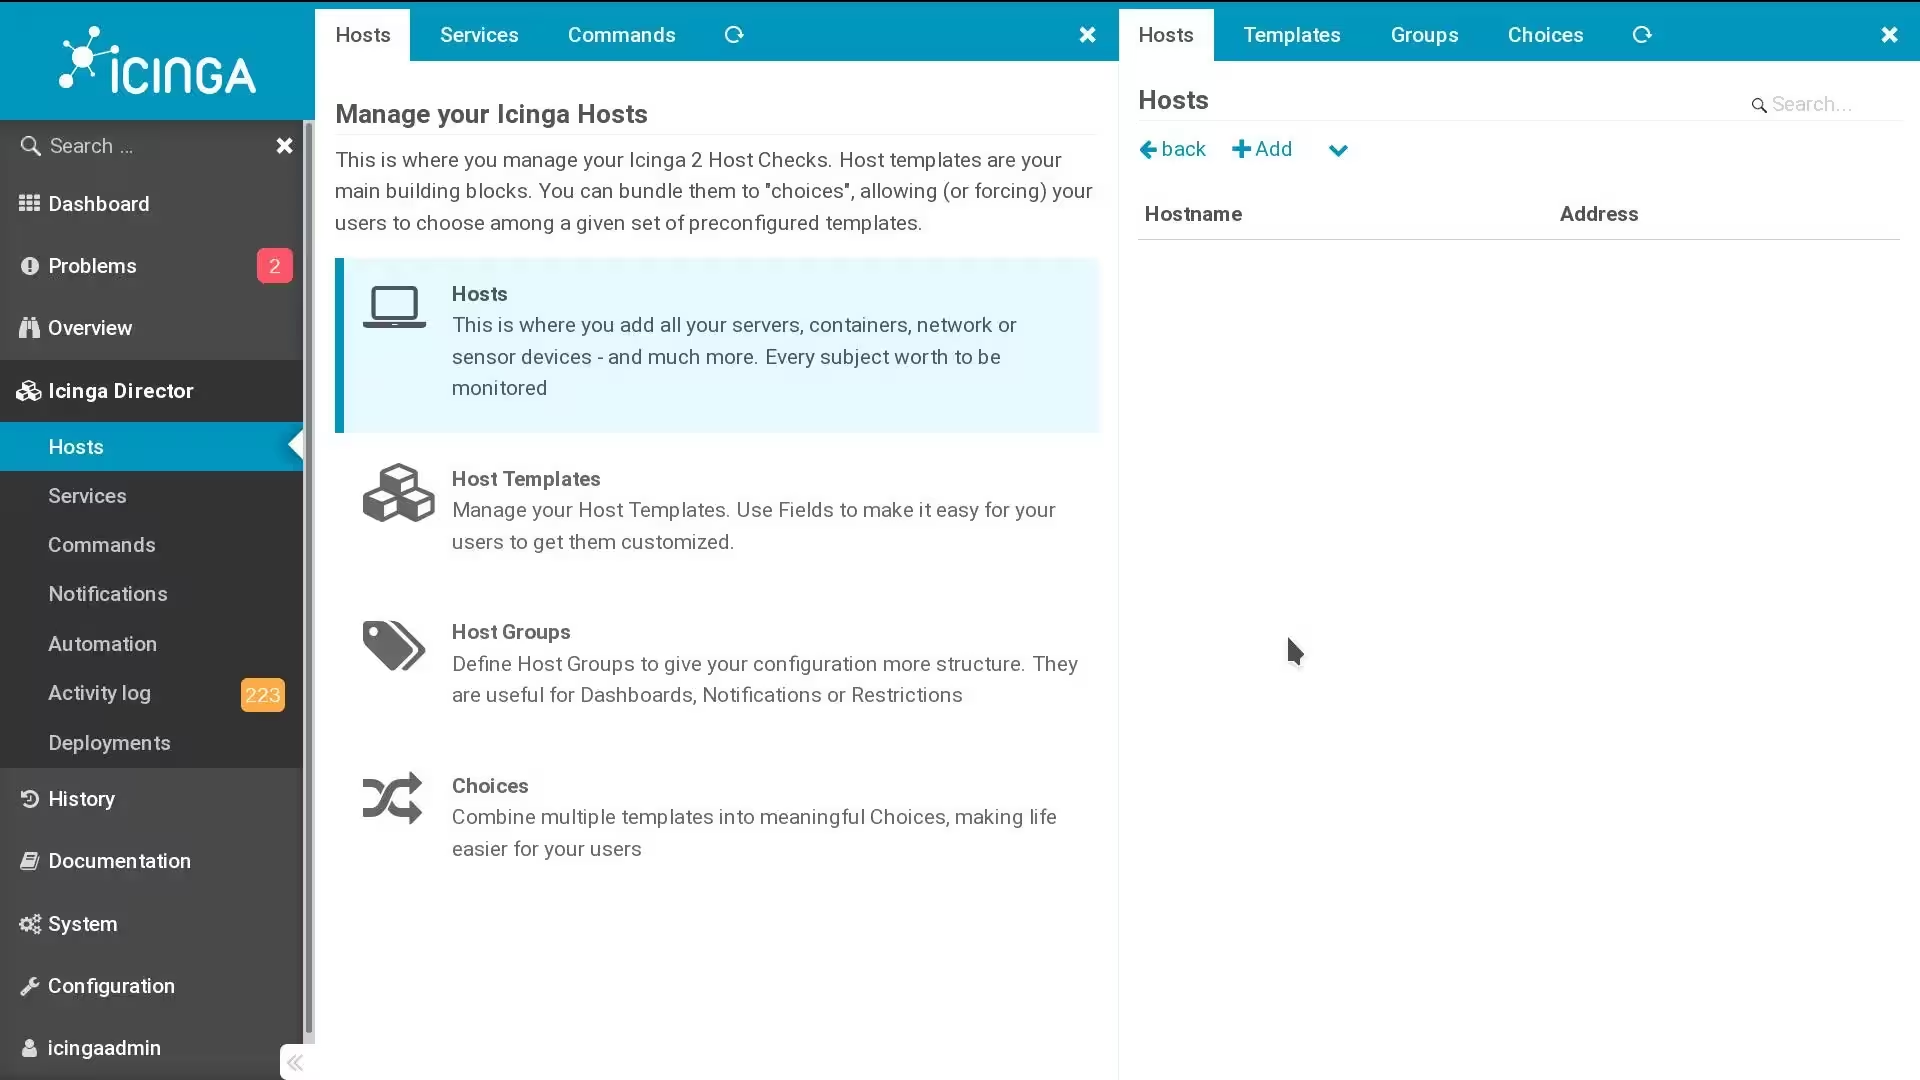
We click in the bar on the left going into the various menus, Director / Host objects / Hosts
At this point a tab on the right allows us to add hosts, once we click add we are prompted to create the first Host Template.
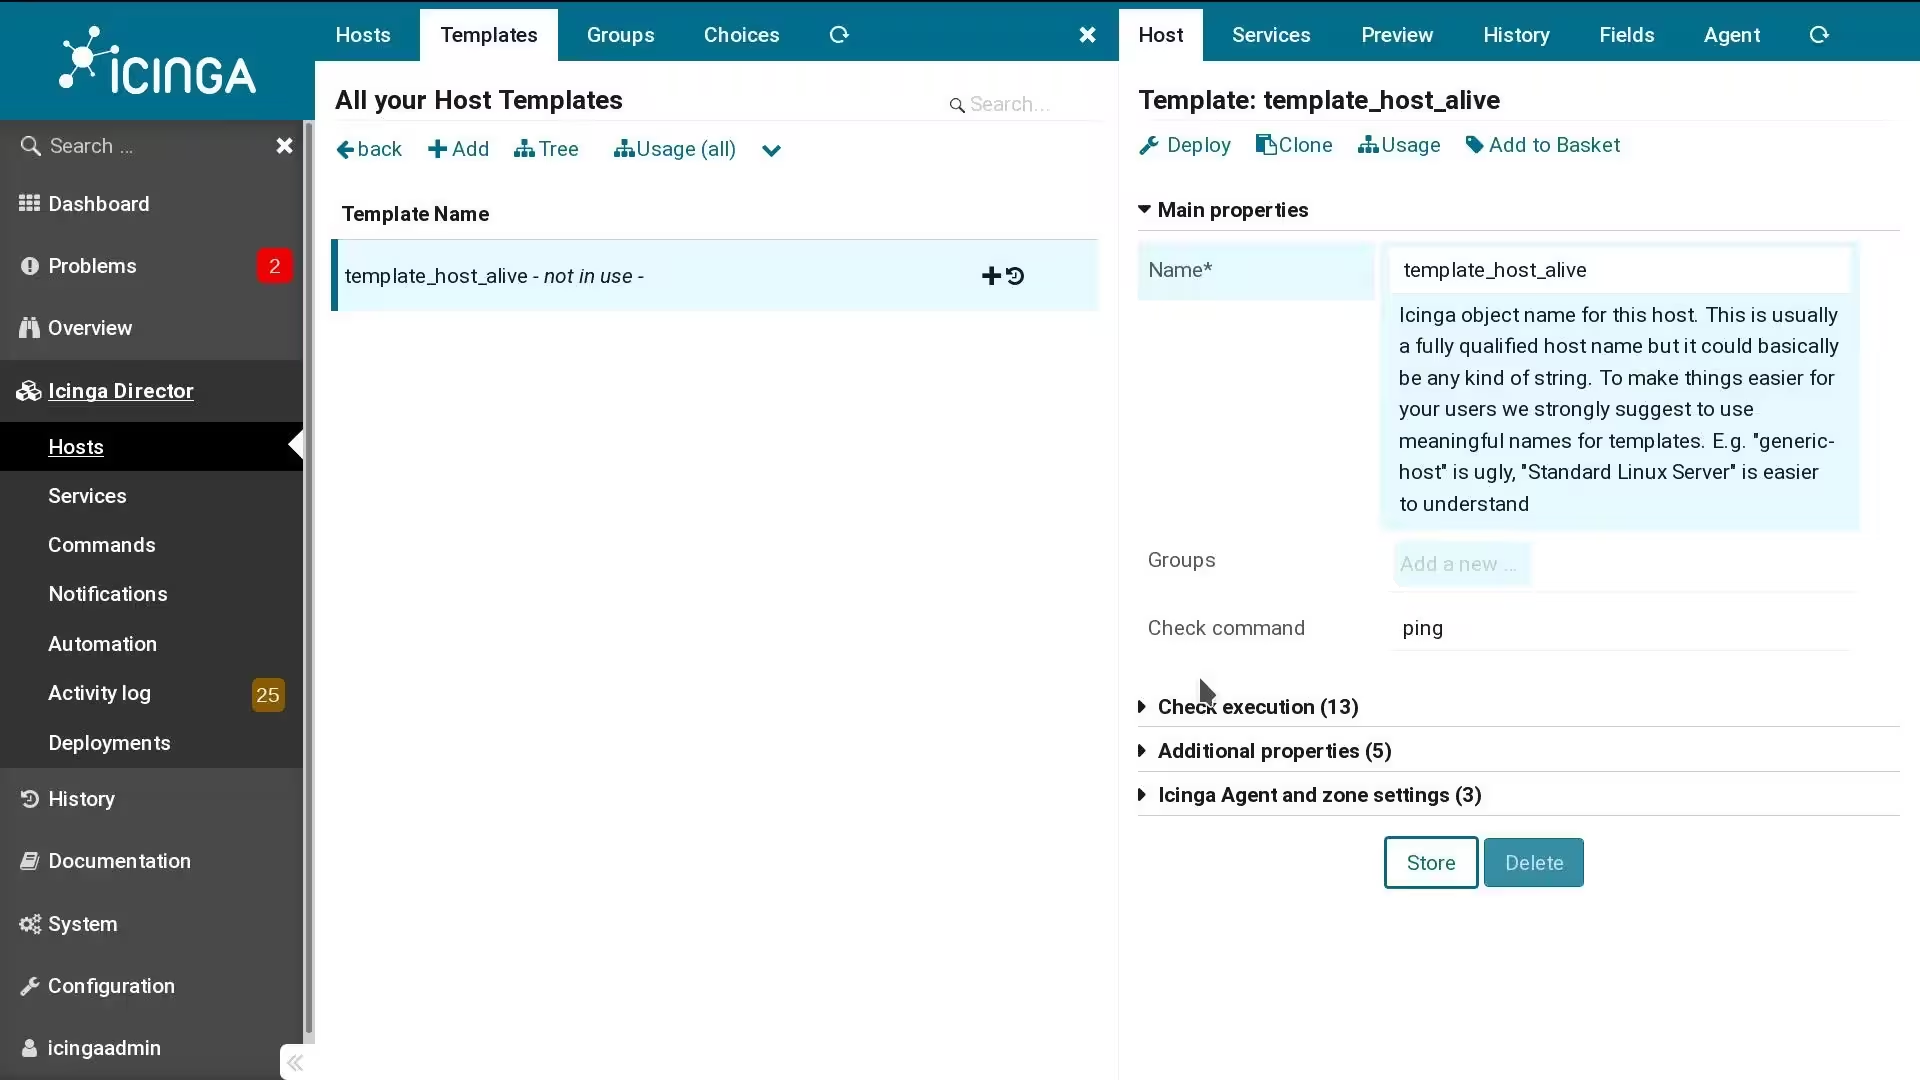
Host template check_ping
As the first template we define the check by ping, which we use to determine the reachability of most monitored hosts.
This will avoid service checks on unreachable hosts and duplicate notifications
From the Director / Host object / Template menu, we can add our first template:
- Name:
template_host_alive - Check Command:
ping - Store
We can leave the remaining fields default, remember that templates can be imported and create second-level templates that inherit the properties of the top level, better not to define too many features in first-level templates
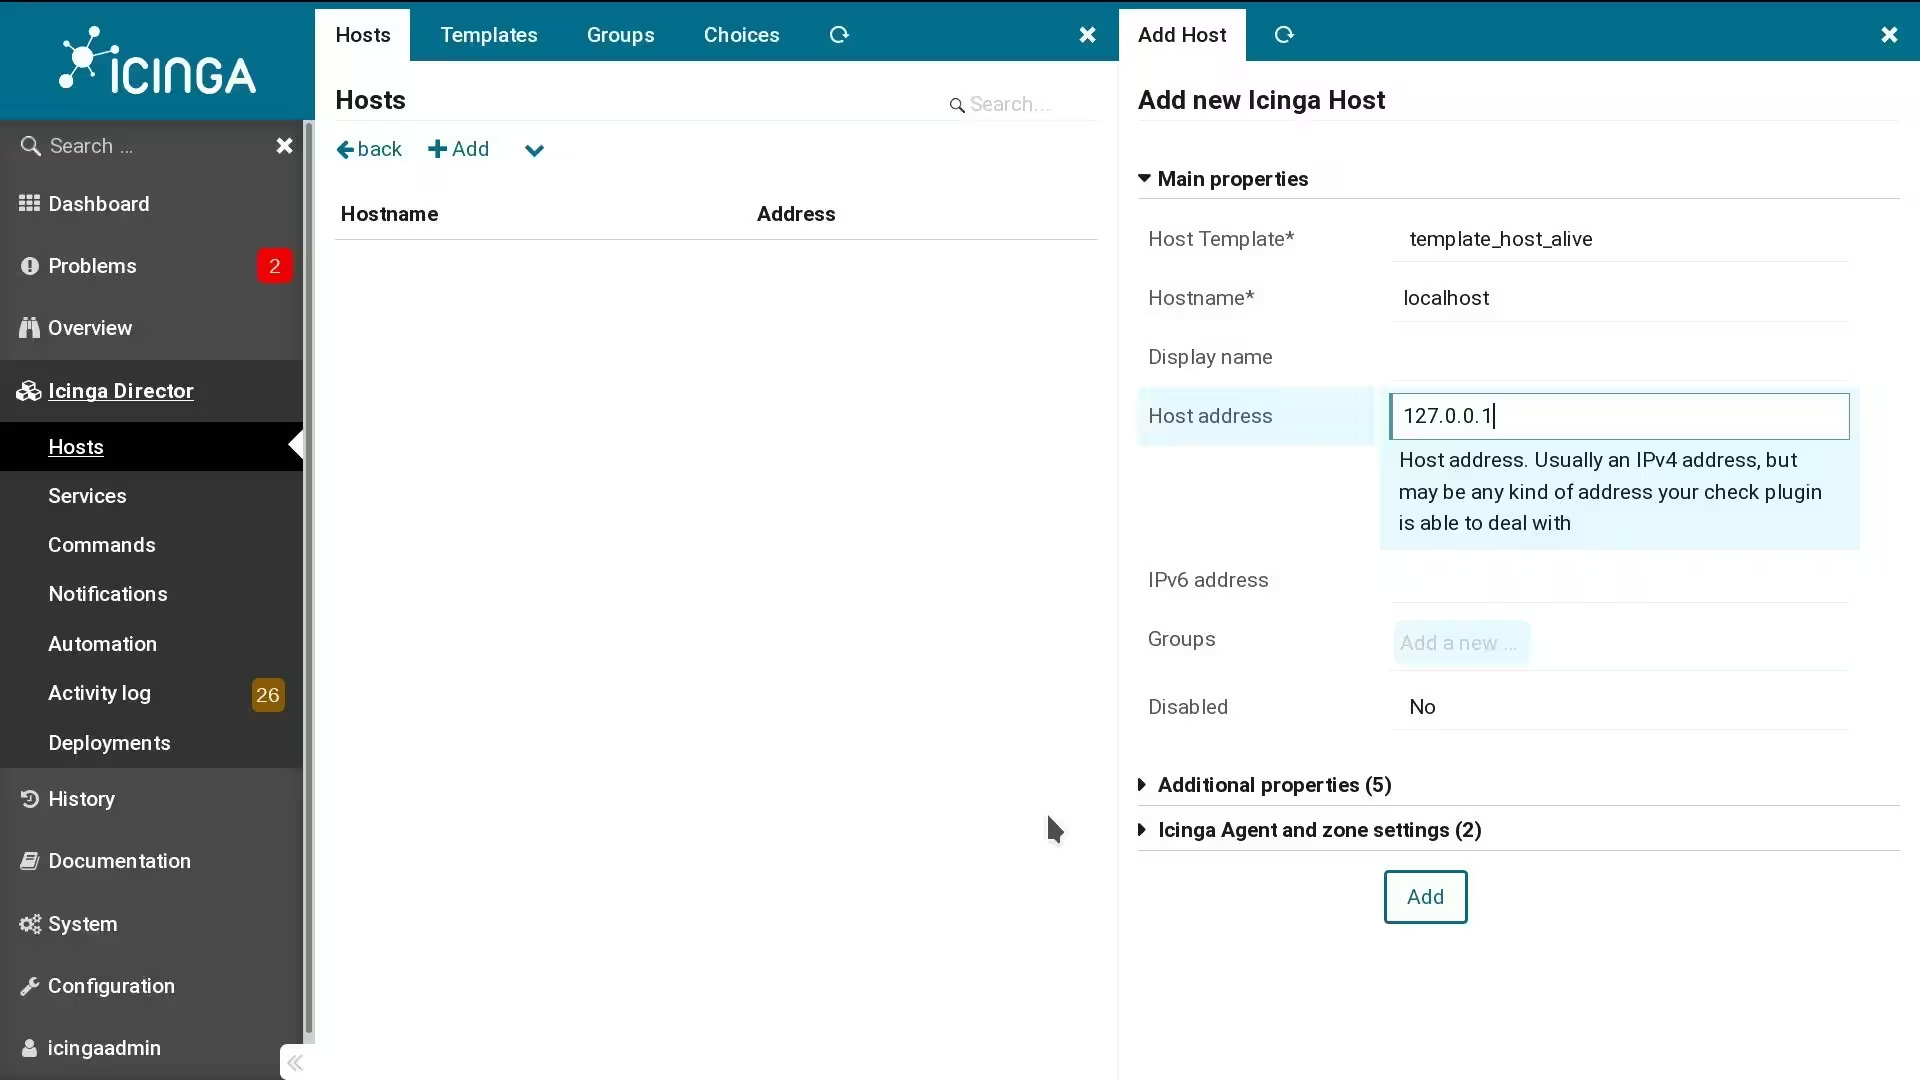
Host object creation
We add a host, which will import the host alive template, applying monitoring via ping
From the Director / Host object / Host menu we add the host by defining:
- Template to import:
template_host_alive - Hostname:
localhost - Host Address:
127.0.0.1 - Add
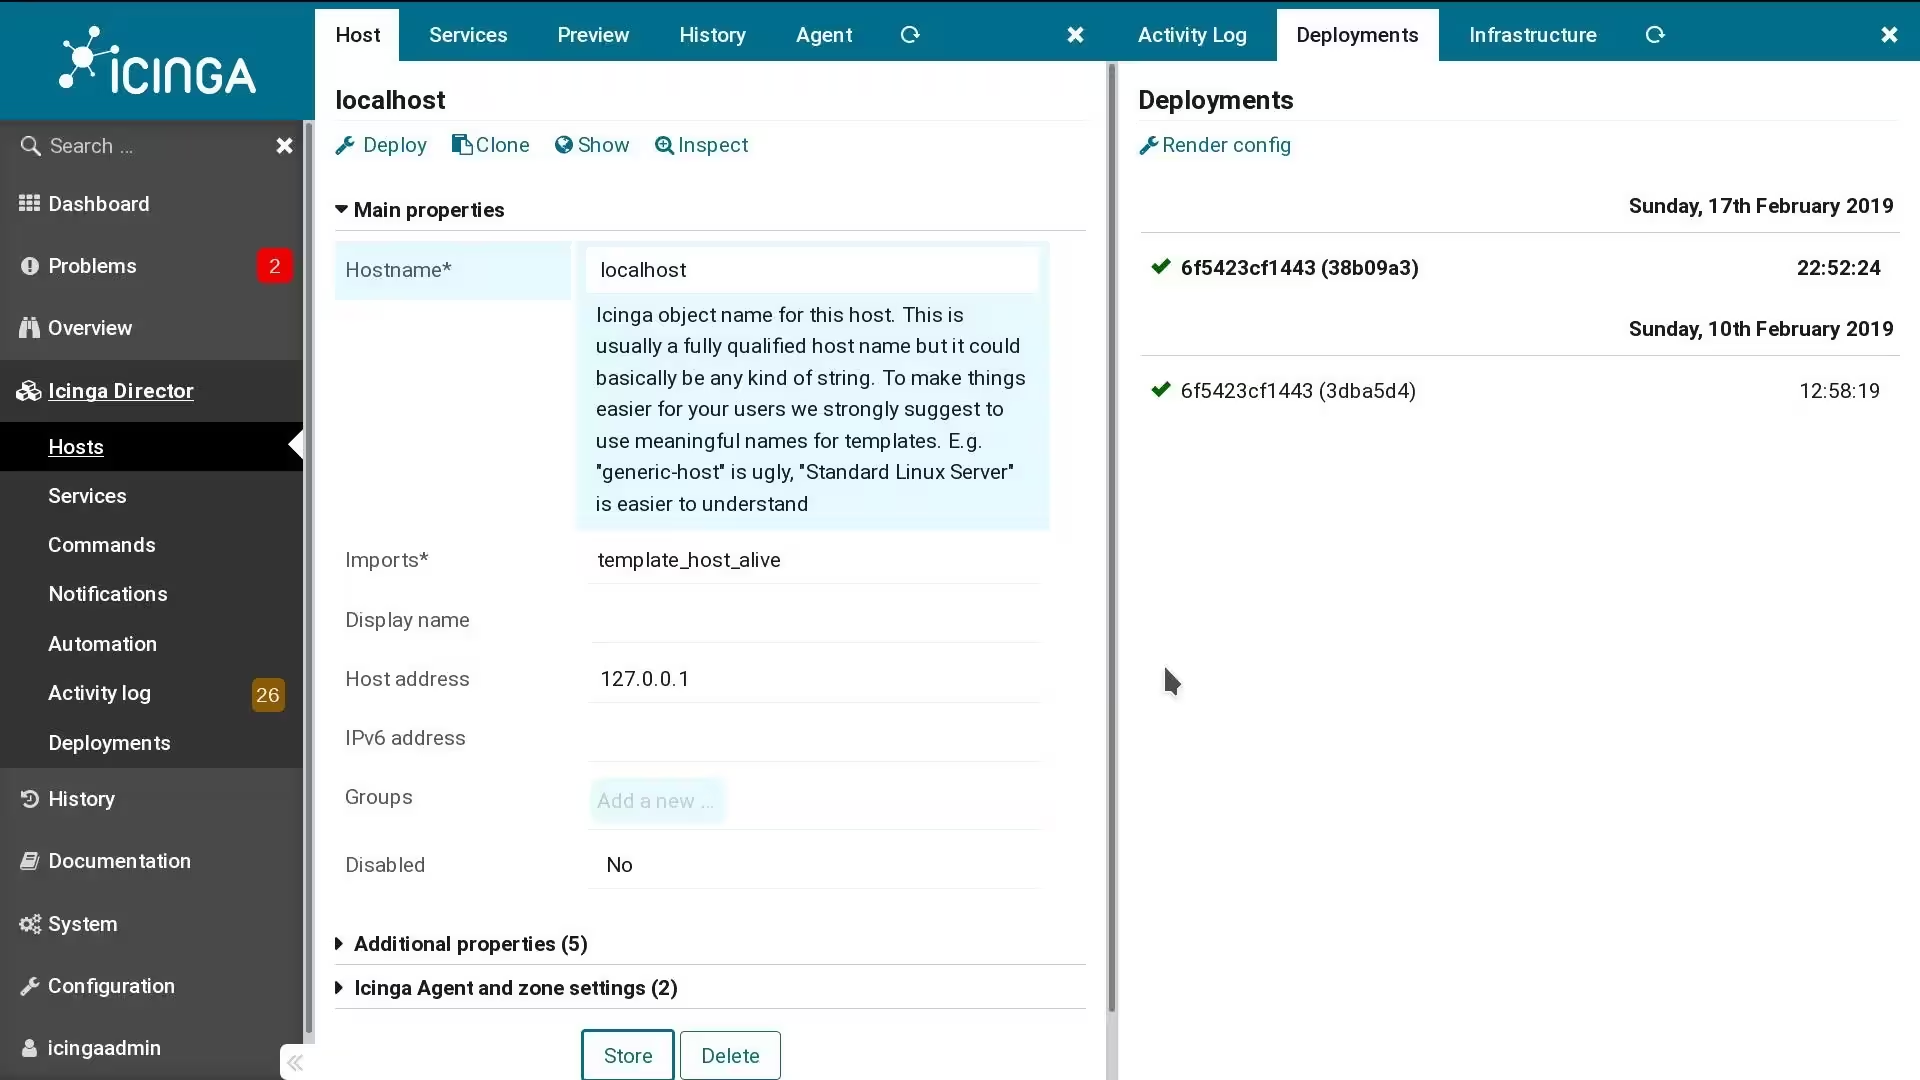
At this point we deploy, this will make the created configurations effective and start monitoring the defined hosts
From the Director we can see if the configuration deployment was successful or if there were errors, compare the changes made between two deployments and restore a previous working configuration in case of problems
The icinga2 service remains active even in case of errors in the configuration, allowing us to fix them and apply the configuration again