
Installation Guide for Proxmox VE 7: Open Source Virtualization
Opensource virtualization environment, install Proxmox (PVE) will allow you to run KVM virtual machines, QEMU and orchestrate LXC containers
Debian-based virtualization, allows you to create new machines and templates, live snapshots, dumps, backups, eases administration and reduces disaster recovery time
Proxmox Virtual Environment (PVE) integrates the ability to perform synchronization between nodes, create and manage clusters, use REST APIs, ZFS and Ceph filesystems
You can find the list of packages in the distribution, new releases and other information on Distrowatch
If you need professional and knowledgeable advice, try our Proxmox Support
Installing Proxmox VE 7
To install Proxmox VE 7, you need to download the official iso image, from the repository, the live installer will guide us through the installation procedure
Version comparison
PVE 7 implements many new features in backup, restore and about stability, based on Debian 11 latest updates and kernel
Proxmox 6, is based on Debian 10, whose support is set to end, to date guaranteed until June 2024
1. Create a bootable USB device.
For Linux users, it will be sufficient to write the image to a USB device using the dd command
sudo dd bs=1M conv=fdatasync if=./proxmox-ve_*.iso of=/dev/device-usb-chosenOn Windows it is recommended to use Etcher, following the guided path and selecting ISO and DVD, alternatively Rufus is available remembering to use the DD mode option
For Mac users, the process is very similar to Linux, however, a few more steps need to be taken
The complete guide is available on the official Wiki at the Prepare installation media page
2. Start the installation
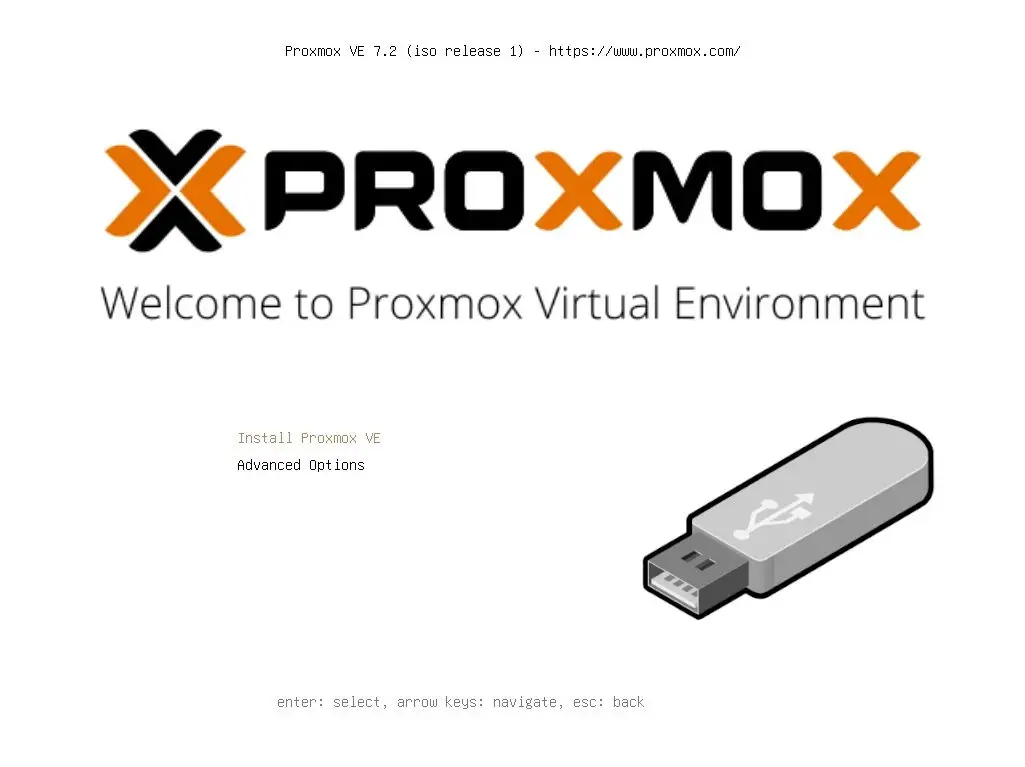
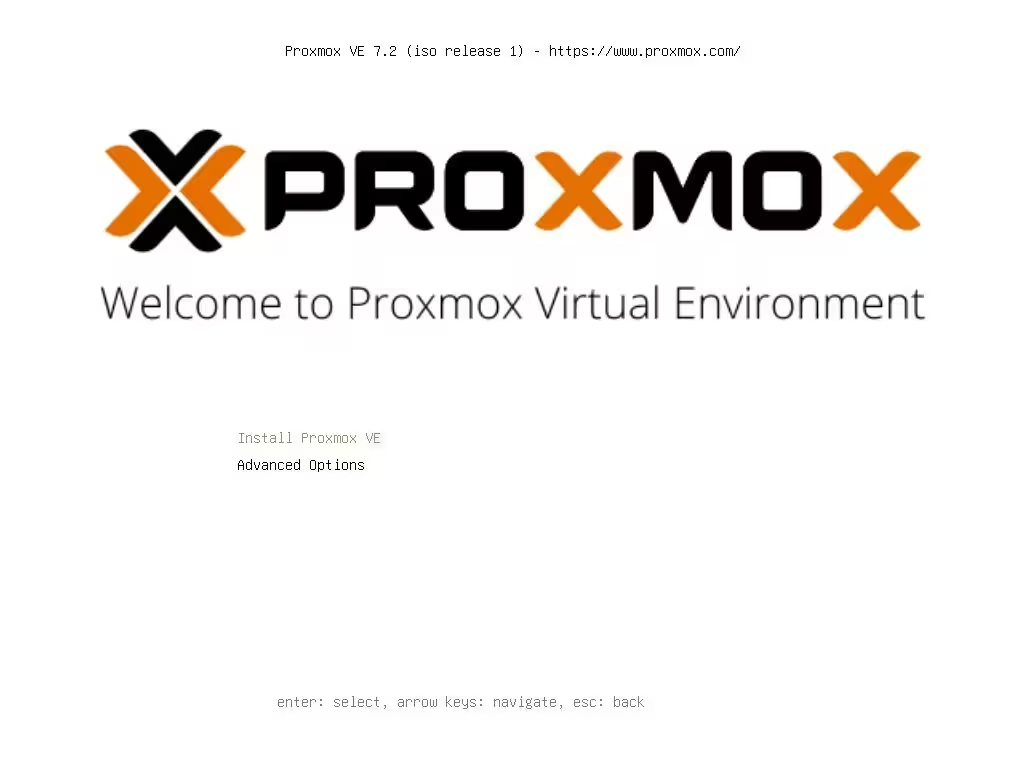
We start our server from USB device and we will be presented with the bootloader, with "Install Proxmox VE" selected as default, via the enter key we launch the execution
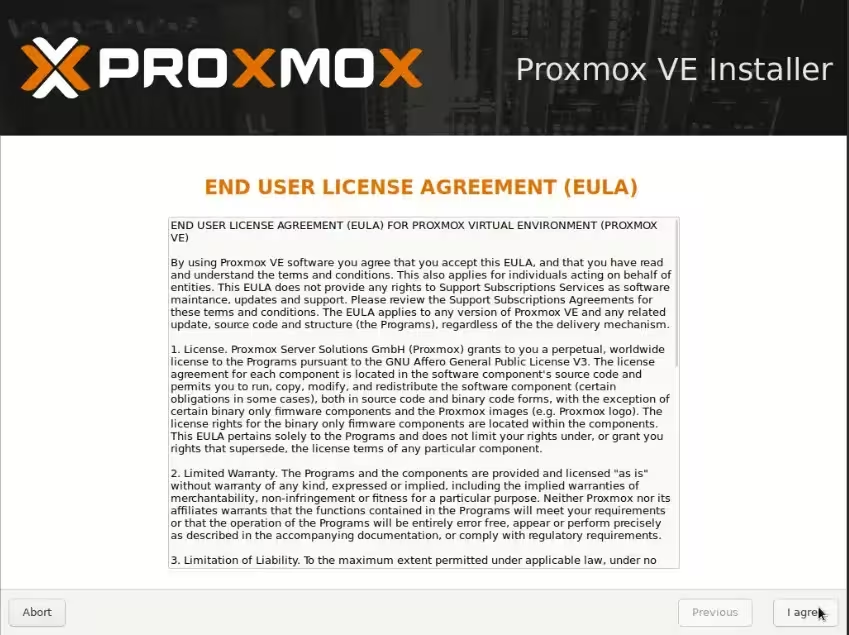
On the next screen we accept the license
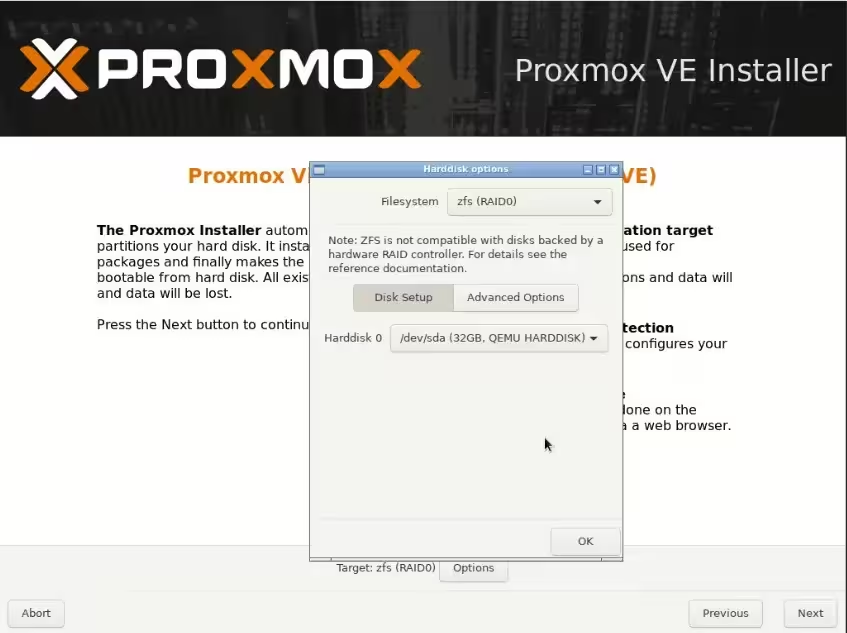
We select the disk and what filesystem to use, in this case I choose ZFS for its advanced features over ext4
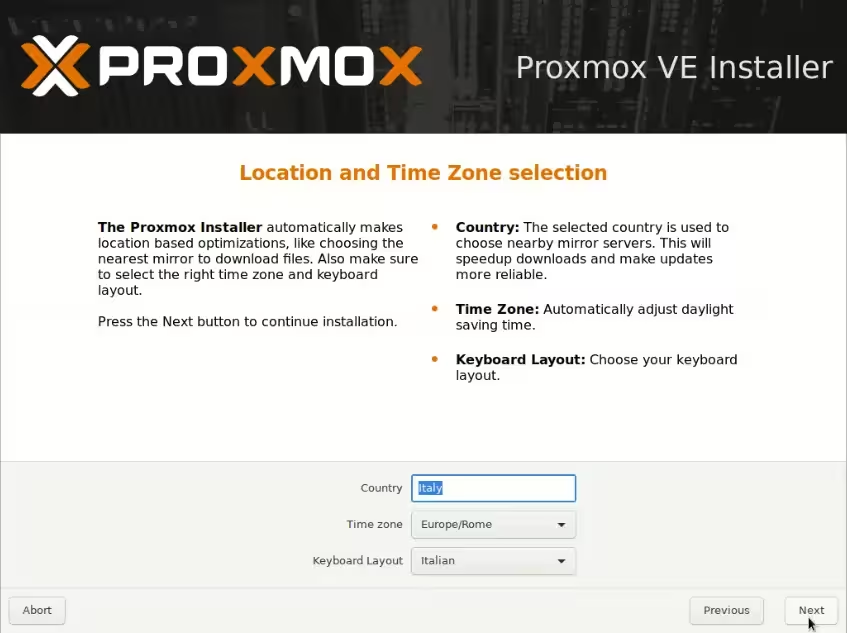
We configure the timezone of the machine
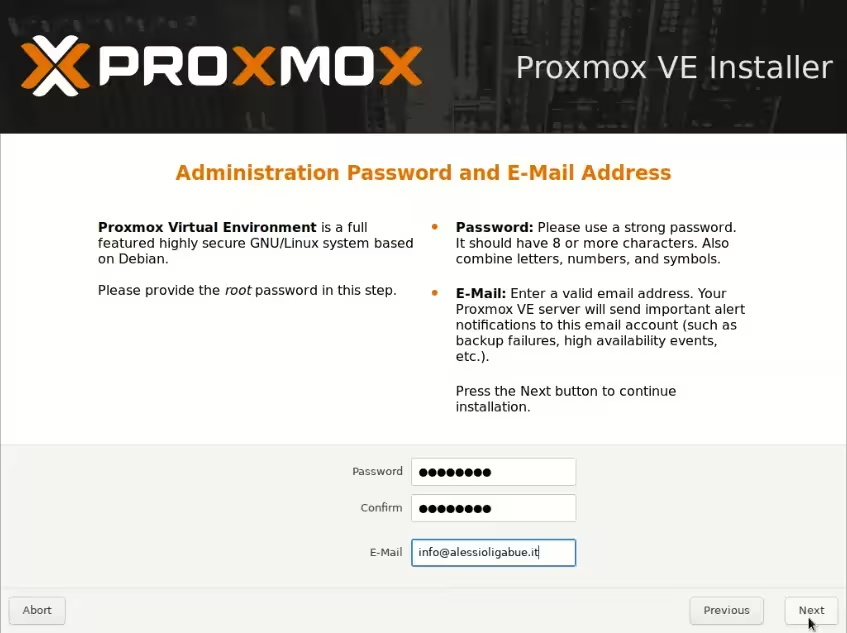
We set the root user passowrd, which we will use for administration.
Proxmox supports authentication via Active Directory and LDAP, groups, and granular permissions on users
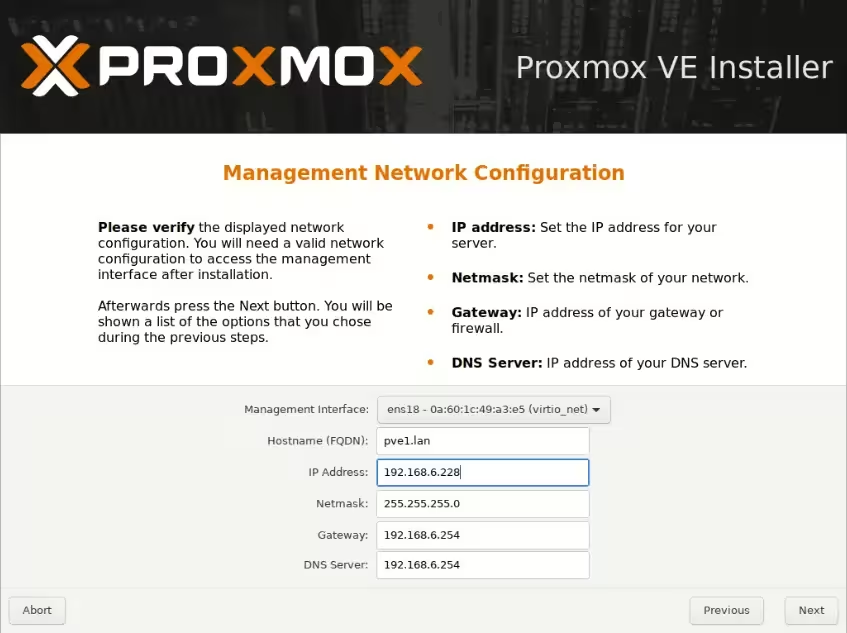
We configure a static IP address for the PVE virtualization environment.
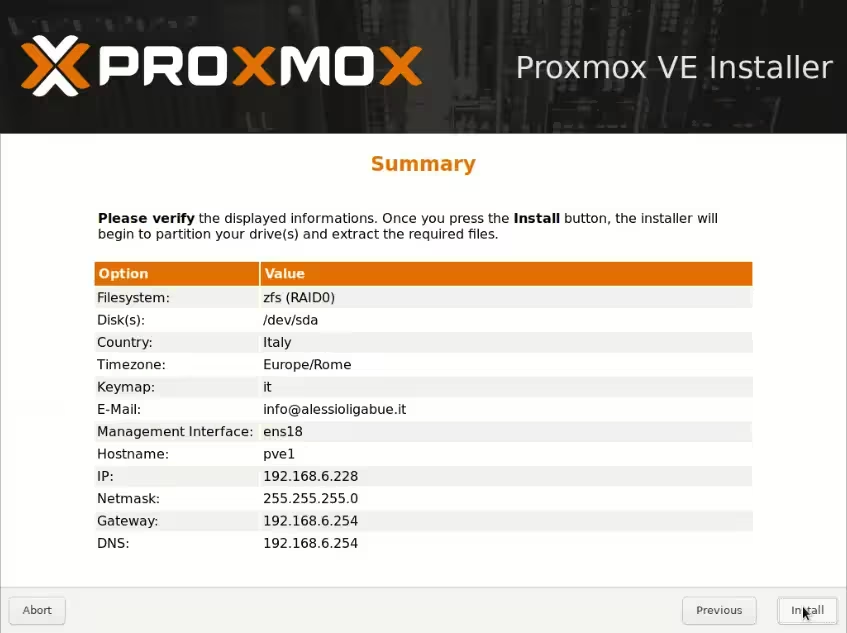
The installation configurations at this point are finished, we verify that we have configured everything correctly in the final summary and proceed to install Proxmox VE
Once the installation operations are finished, it is required to reboot, after a few seconds, we will be presented with the Proxmox console with machine IP address
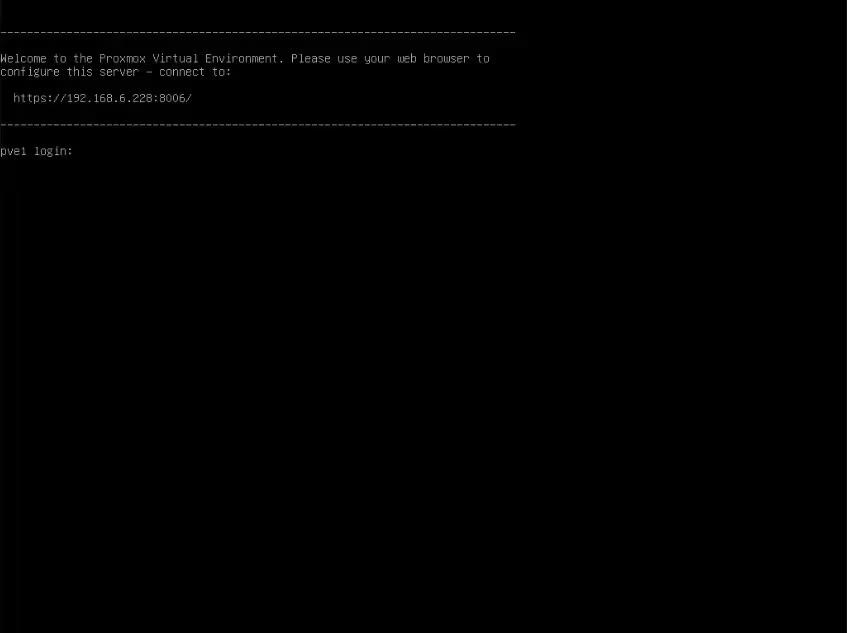
3. Proxmox web interface connection
The default port of Proxmox is 8006 in HTTPS, to connect we will use our favorite browser, in my case Firefox or Chrome
Let's connect with our favorite web browser to https://IP-di-Proxmox:8006, which is displayed in the console
We accept the autogenerated https certificate
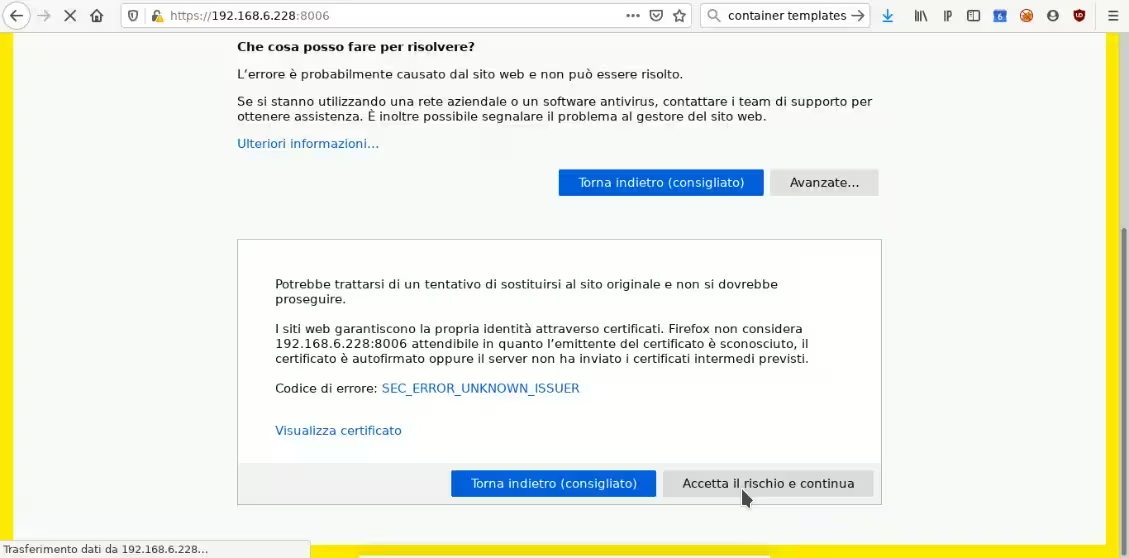
After entering our administrator(root) credentials, we can use the administration interface
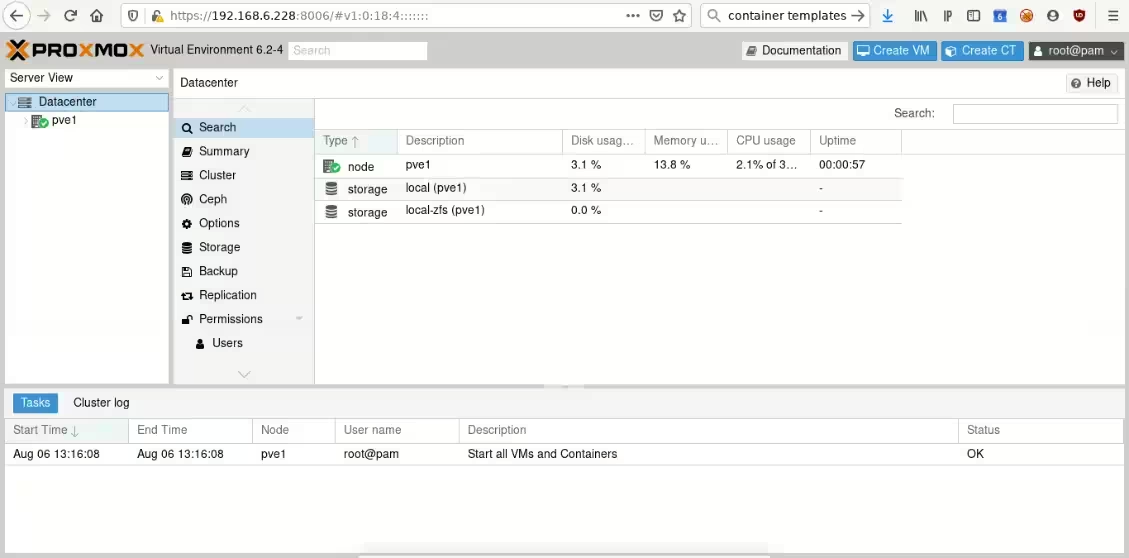
Virtual machines and LXC Containers
Unlike virtual machines, containers do not use a hypervisor and save resources that would instead be wasted by virtualization.
Normally the resource cost of virtualization is 10-15%, for example, Microsoft states that Hyper-V has a 9% to 12% overhead
Containers using a different technology have a loss of less than 1%.
In the next posts we will see how to run our first LXC container
If you need professional and knowledgeable advice, try our free Proxmox Consulting and Support