How to Install Proxmox VE 8 Detailed Guide
Installing Proxmox VE 8 (PVE) allows you to run KVM (Kernel based Virtual Machine) and QEMU virtual machines and orchestrate LXC containers in the open source virtualization environment.
Virtualization is based on Debian, allowing you to create new virtual servers and templates, live snapshots, dumps, backups, facilitating administration and reducing disaster recovery (DR) times.
Proxmox Virtual Environment (PVE) integrates the ability to synchronize between nodes, create and manage high availability clustering, use REST APIs, ZFS and Ceph filesystems.
You can find the list of packages included in the distribution, new releases, and other information on Distrowatch.
Thanks to Proxmox Backup Server (PBS), you can perform atomic and deduplicated backups of VMs and containers, restore virtual machines live, browse backup content, and use many other features that are essential for comprehensive enterprise virtualization.
If you need professional and competent advice, delegate the complexities of installation and support to our Proxmox assistance.
Install Proxmox VE 8
To install Proxmox VE 8, you need to download the ISO image from the official Proxmox website. Once you have booted from USB, the live installer will guide you through the installation.
Once the installation is complete, you can connect to the HTTPS interface via the default Proxmox port 8006, the Proxmox default
Proxmox License
Proxmox is an excellent alternative to VMWare, offering complete virtualization at a fraction of the cost, supporting virtual machines and LXC (Linux Container).
At the time of writing, the Proxmox license costs €110 per year for the "Community" version, per CPU socket (yes, you read that right, per physical CPU, regardless of the number of cores) and guarantees access to all features:
- Access to the enterprise repository
- All available features
- Community support
Other subscriptions guarantee direct support in the event of incidents, with fast and guaranteed response times.
You can find Proxmox license prices and more details at this link on the official website
Version comparison
PVE 8 implements many updates in the virtualization and container sectors, as well as stability fixes
The new version is based on Debian 12 with the latest kernels and updates to offer greater support for new hardware.
The previous version, Proxmox 7, is based on Debian 11 "Bullseye," whose support is set to end and is currently guaranteed until July 2024
1. Create a bootable USB device
For Linux users, once Proxmox VE has been downloaded, simply write dd the image directly to the bootable USB device with these commands
Identify the newly inserted device in this case
/dev/sddsudo dmesg | tail[ 6141.877937] sdd: sdd1Enter the directory where you downloaded PVE
cd $HOME/DownloadCopy the file to the device we identified earlier, replacing
DEVICE_USBin the command belowsudo dd bs=1M conv=fdatasync if=./proxmox-ve_*.iso of=/dev/DEVICE_USB
On Windows, it is recommended to use balenaEtcher, following the guided path and selecting ISO and DVD. Alternatively, Rufus is available, remembering to use the "flash from file" and "dd mode"
For Mac users, the process is very similar to that for Linux, but a few more steps are required.
The complete guide is available on the official Wiki at the Prepare installation media page
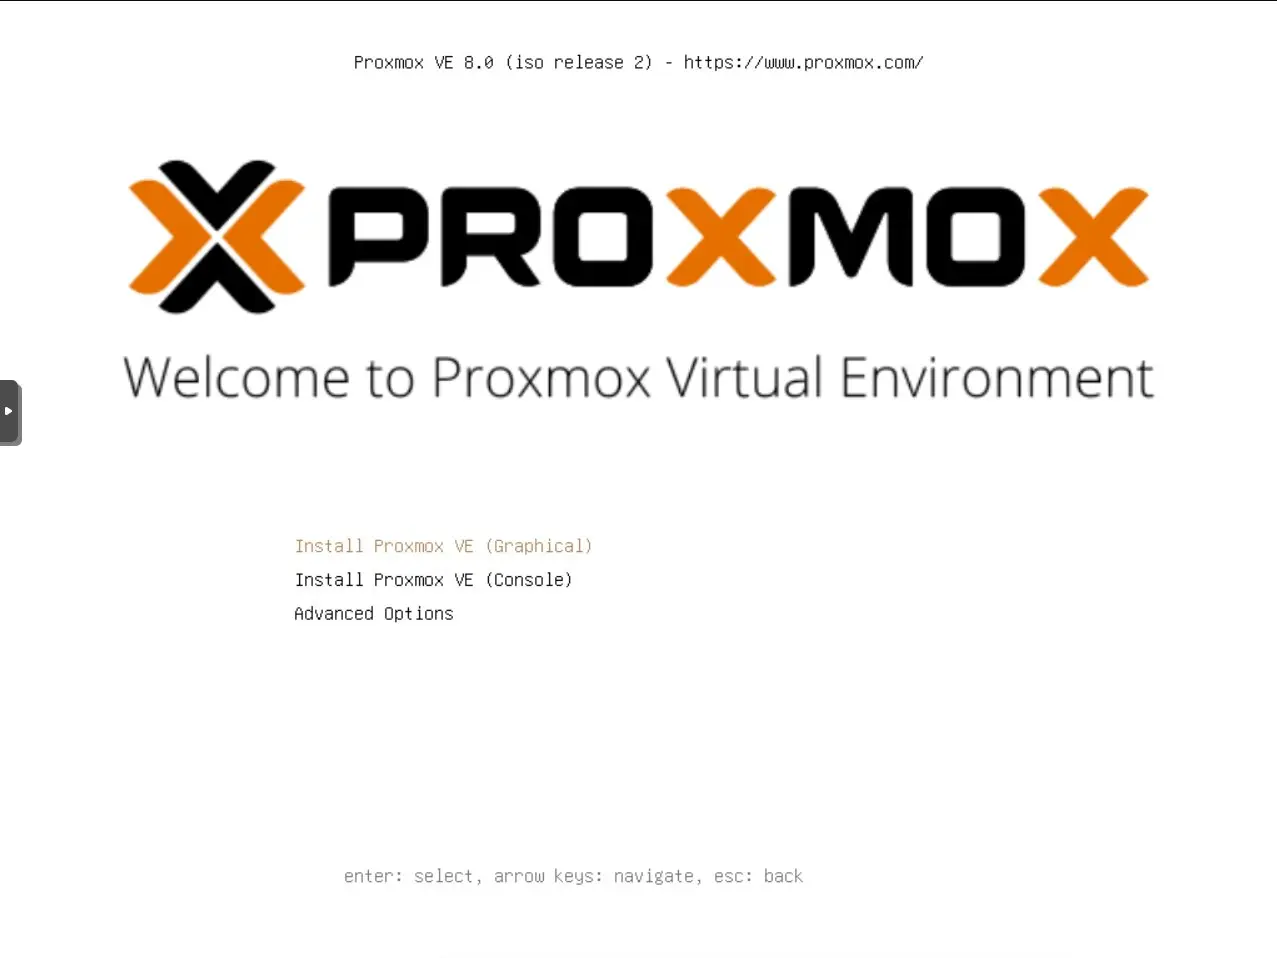
2. Start the installation
Start your server from the USB device and the bootloader will appear, with "Install Proxmox VE" selected as default. Press Enter to start the installation

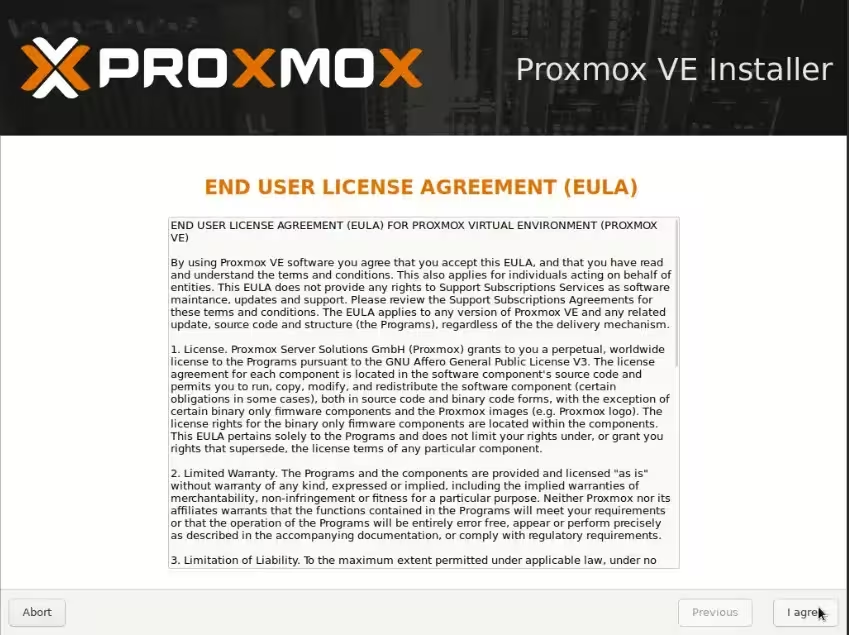
On the next screen, you will be asked to accept the license
Select the disk. If necessary, you can select the file system or configure a RAID.

Configure the time zone of the machine

Set the user password root, which we will use for administration.
Proxmox supports authentication via Active Directory and LDAP, groups, and granular permissions on users.

Configure a static IP address for the PVE virtualization environment

The installation configurations are now complete. We verify that everything has been configured correctly in the final summary and proceed to install Proxmox VE

Once the installation is complete, restart and after a few seconds, the Proxmox console will appear with the machine's IP address.

3. Connecting to the Proxmox web interface
The default port for Proxmox is 8006 in HTTPS. To connect, use your preferred browser (in my case, Firefox) and enter the address displayed in the console at IP-Proxmox:8006
Accept the auto-generated HTTPS certificate

After entering our administrator credentials (root), we can use the administration interface

Virtual machines and LXC containers
Unlike virtual machines, LXC (Linux Containers) containers do not use a hypervisor (software that allows multiple instances of operating systems to run) and save resources that would be wasted by virtualization.
Normally, the resource cost of virtualization is 10-15%. For example, Microsoft reports an overhead for Hyper-V of 9% to 12%.
Containers, on the other hand, even with layers of isolation, make calls to the host kernel and have a loss of less than 1%.
In the next few posts, we will see how to run our first LXC container.
Are you looking for professional Proxmox VE consulting and support?
Our experts are ready to offer you advice and assistance on your project.