Proxmox Backup Server Installation Guide
Proxmox Backup Server is a powerful, open-source solution for backing up Proxmox virtual machines and containers, offering a high level of security and flexibility. A practical example? You can read about how implementing PBS allowed us to achieve atomic, deduplicated backups in our case study: From Legacy VPS to a High-Performance Proxmox Architecture.
Proxmox Backup Server Requirements
Before you begin, make sure you meet the following requirements for a production machine:
- CPU: A modern 64-bit AMD or Intel-based CPU with at least 4 cores.
- RAM: At least 4 GiB for the operating system, the filesystem cache, and the Proxmox Backup Server daemons. Add at least one additional GiB for every TiB of storage space.
- Operating System Storage:
- 32 GiB or more of free storage space.
- Use a hardware RAID with a battery-backed write cache (BBU) or a redundant ZFS configuration (ZFS is not compatible with a hardware RAID controller).
- Storage for backups:
- Prefer fast storage that offers high IOPS for random I/O workloads; use only enterprise-grade SSDs for best results.
- If using HDDs: It is highly recommended to use a metadata cache, such as adding a ZFS “special device mirror.”
- Network cards: Use redundant network cards with multi-Gbit/s interfaces.
Requirements for this guide
For the installation described in this guide, you will need:
- Internet access to download the Proxmox Backup Server ISO image
- A USB flash drive with at least 4GB of storage to create a bootable drive
- Basic knowledge of system administration (if you’d prefer to delegate the basic configuration, security, and operational management of your servers, check out our professional Linux support services)
Downloading the ISO Image
First, download the Proxmox Backup Server ISO image from the official Proxmox website.
Installing Proxmox Backup Server
Creating a bootable USB drive
Depending on your operating system, the procedure for creating the PBS bootable USB drive varies. Here’s how to do it
a. Instructions for Windows
Use a tool like Rufus to create a bootable USB drive with the Proxmox Backup Server ISO image.
b. Instructions for Linux
You can write cp the image directly to the bootable USB device using these commands
Identify the device you just inserted—in this case
/dev/sddsudo dmesg | tail[ 6141.877937] sdd: sdd1Navigate to the directory where you downloaded PBS
cd $HOME/DownloadCopy the file to the device we identified earlier
sudo cp ./proxmox-backup-server*.iso of=/dev/DEVICELet’s mount the filesystems
sudo sync
c. Instructions for macOS
- Open Terminal (search for "Terminal" in Spotlight).
Convert the file
.isoto the.dmgusing the `convert` option ofhdiutil. For example:hdiutil convert proxmox-backup-server_*.iso -format UDRW -o proxmox-backup-server_*.dmgNote: macOS tends to automatically add
.dmgto the output file name.To get the current list of devices, run the command:
diskutil listInsert the USB flash drive and run the command again to determine which device node it has been assigned to (for example,
/dev/diskX).diskutil listUnmount the USB drive with the command:
diskutil unmountDisk /dev/diskXNote: Replace
Xwith the disk number obtained from the previous command.Write the image
.dmgto the USB flash drive using:sudo dd if=proxmox-backup-server_*.dmg bs=1M of=/dev/rdiskXNote: In the last command, use
rdiskXinstead ofdiskXto increase the write speed.
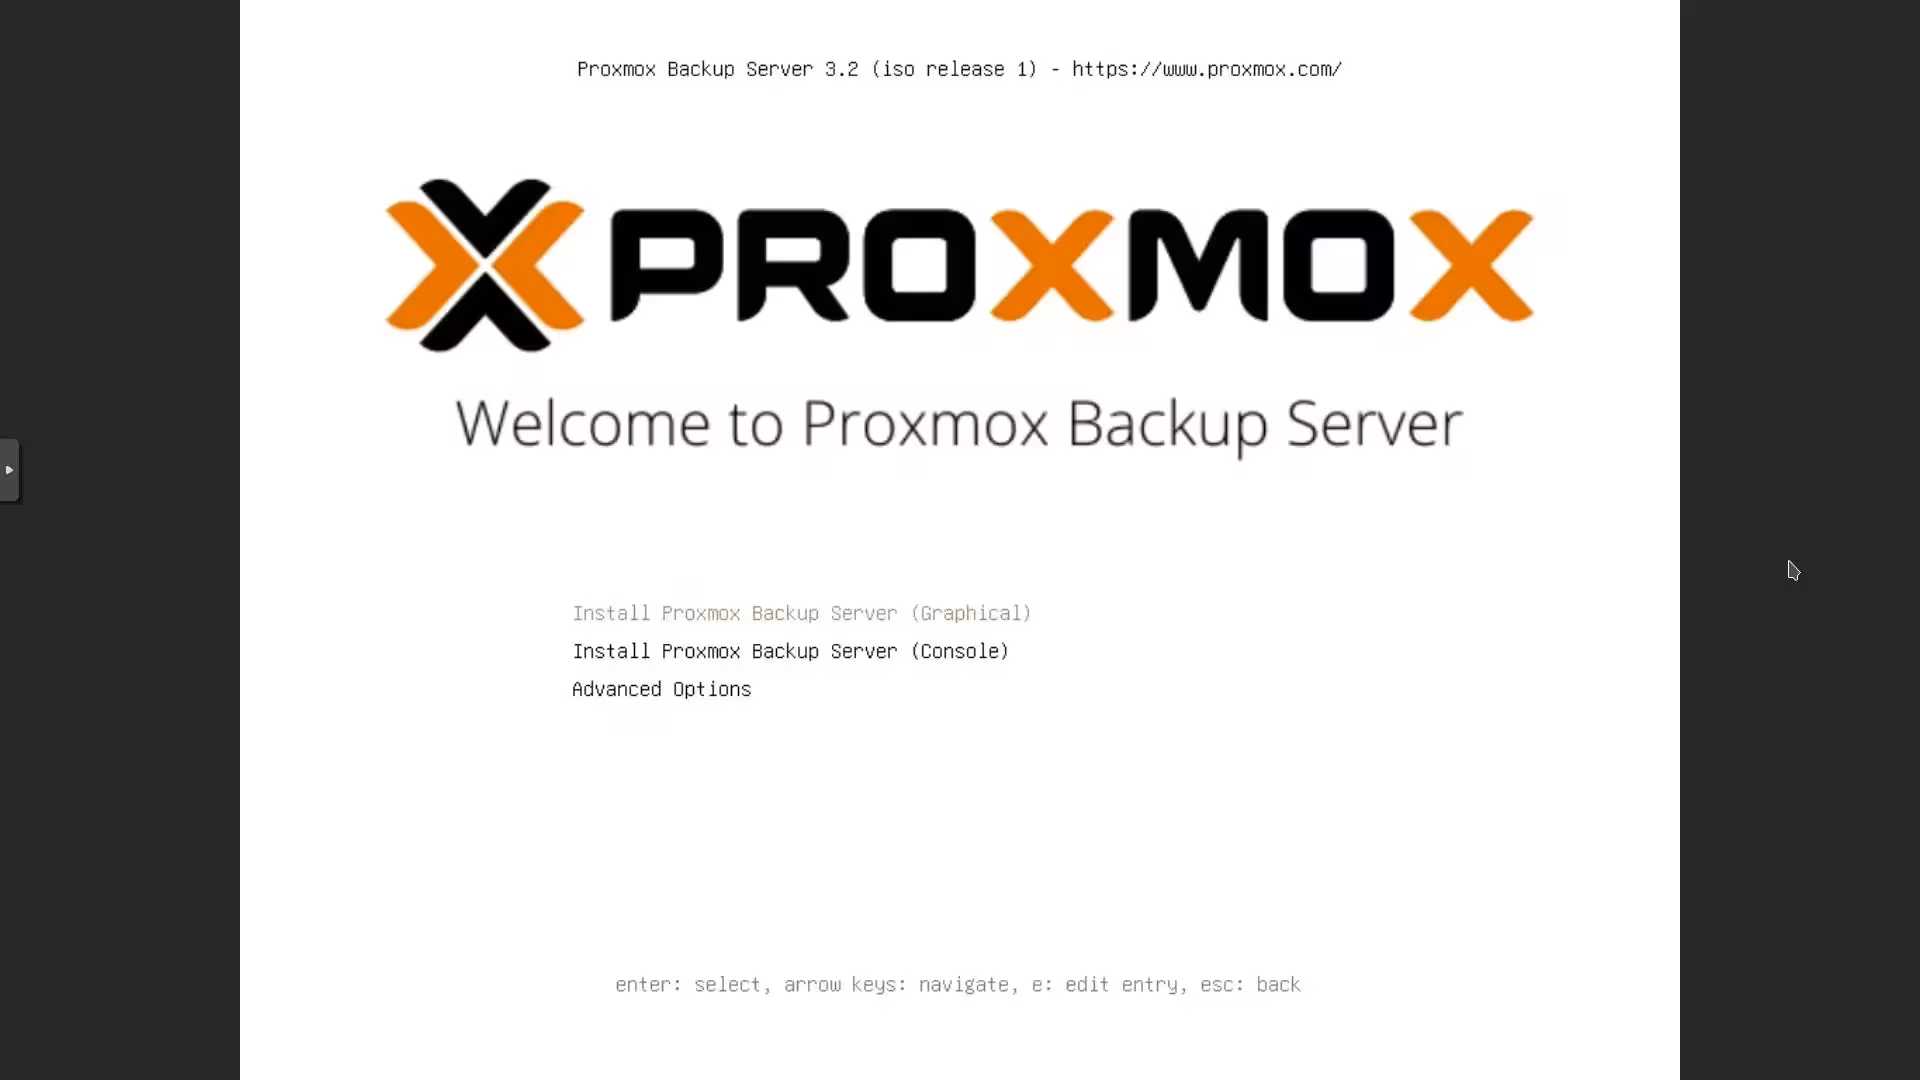
Booting from the USB device
- Insert the USB flash drive into the physical server or virtual machine and boot the system from the USB device.
Operating System Installation
Follow the on-screen instructions to install Proxmox Backup Server on your hardware, starting with the graphical installation.
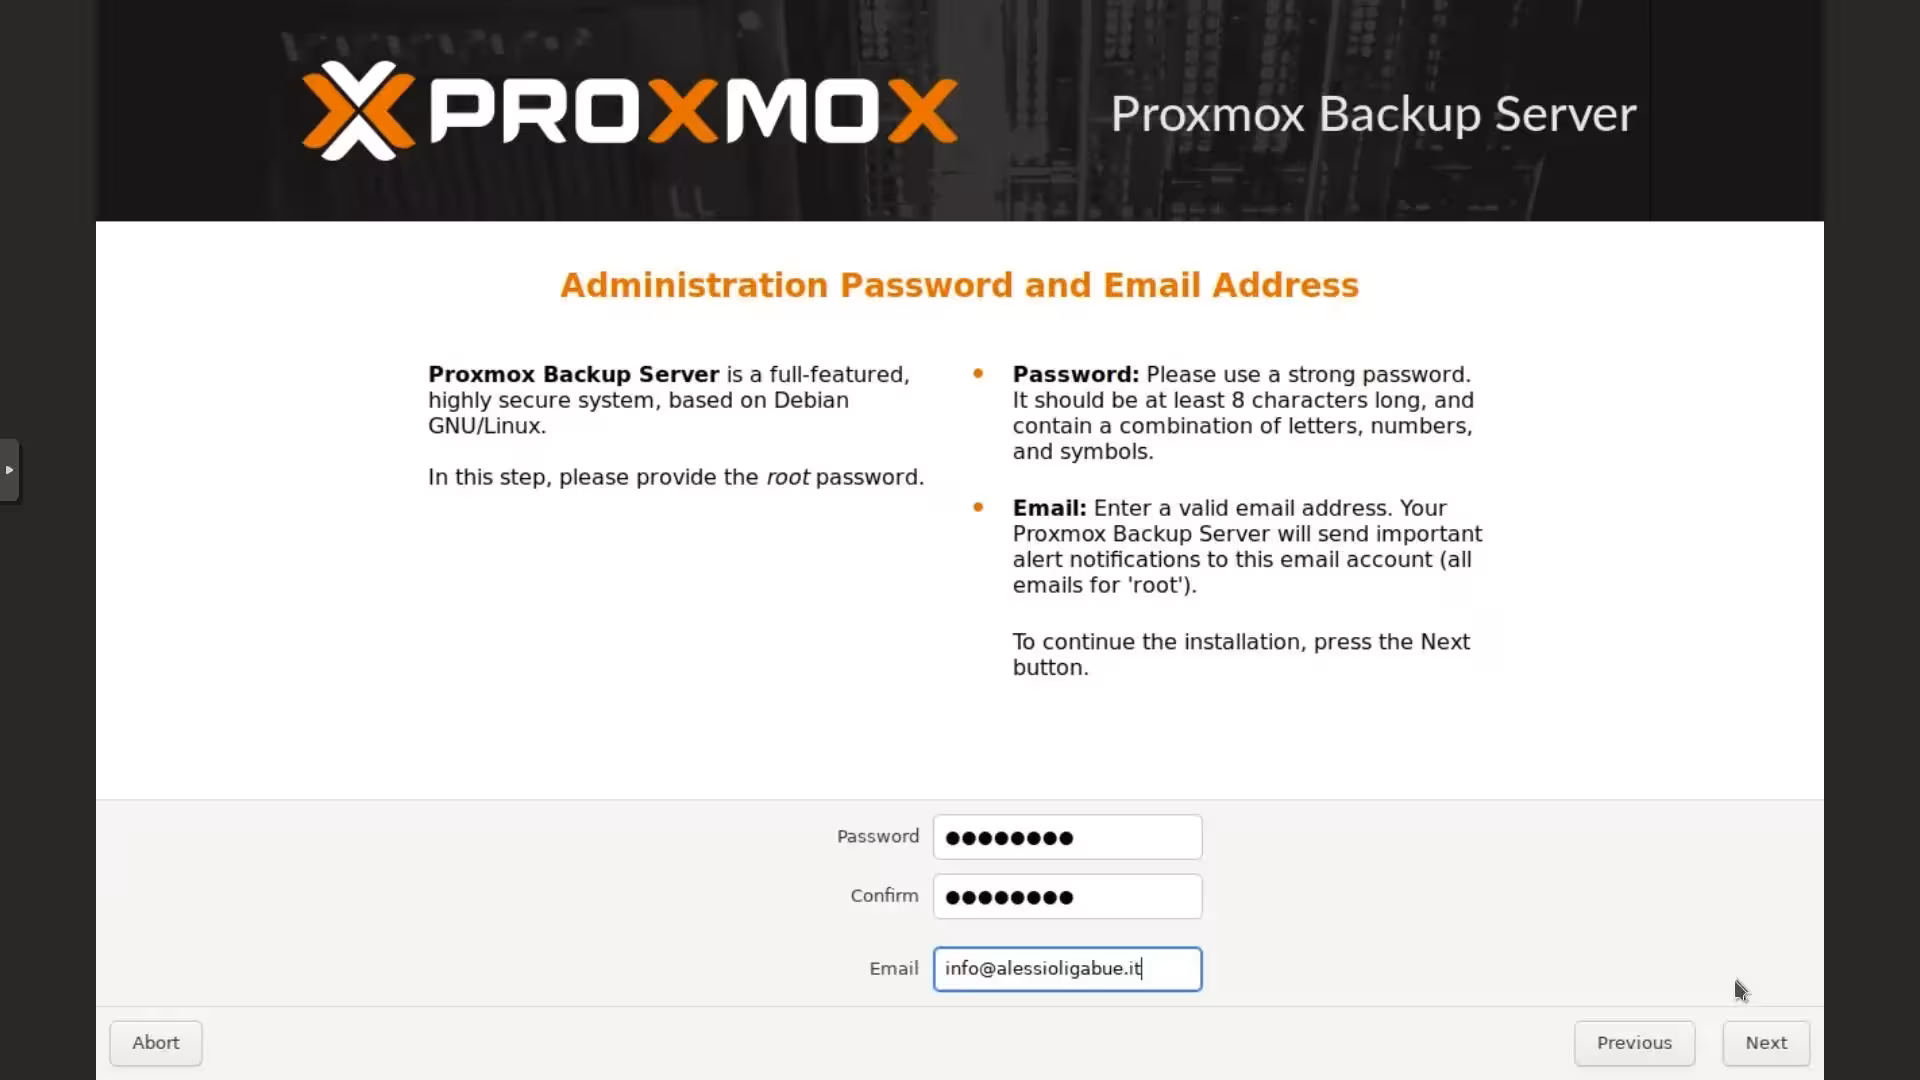
Create a password for the default user root, the system administrator
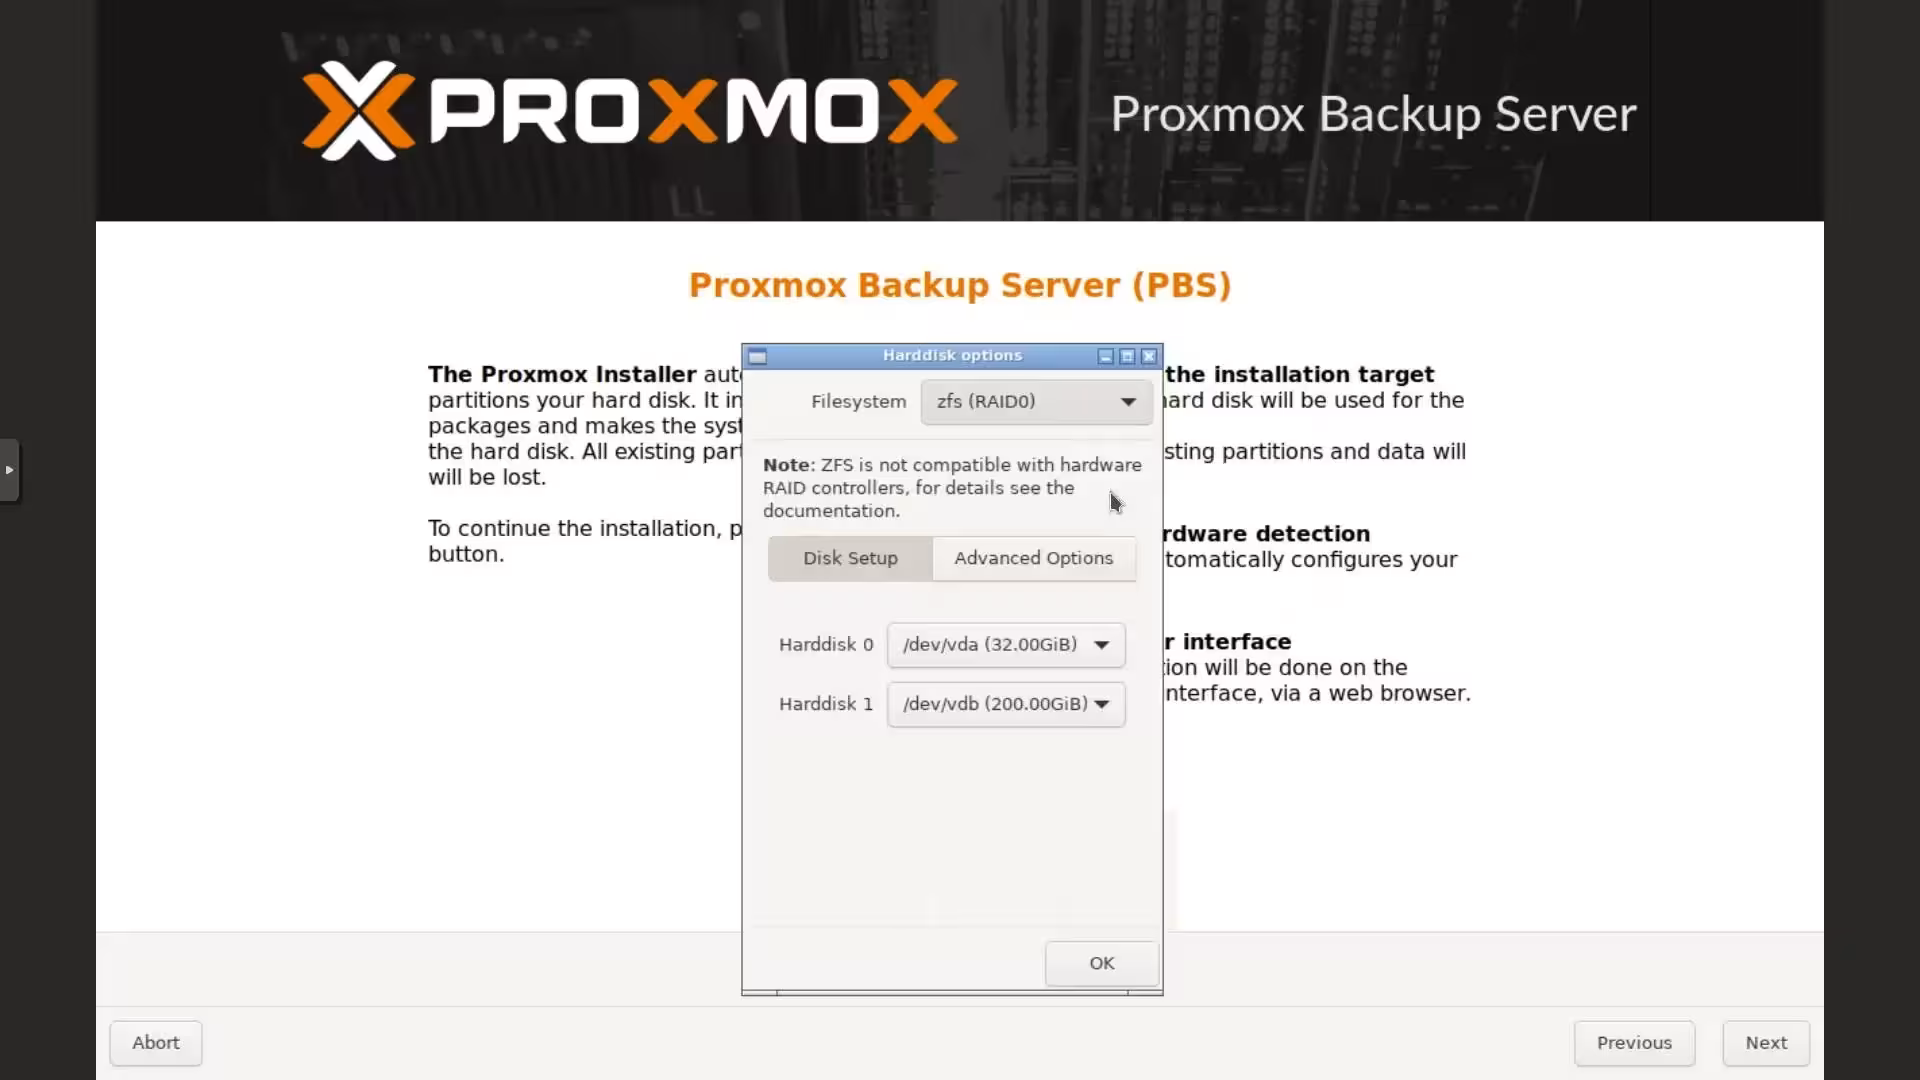
Select the primary disk and any RAID
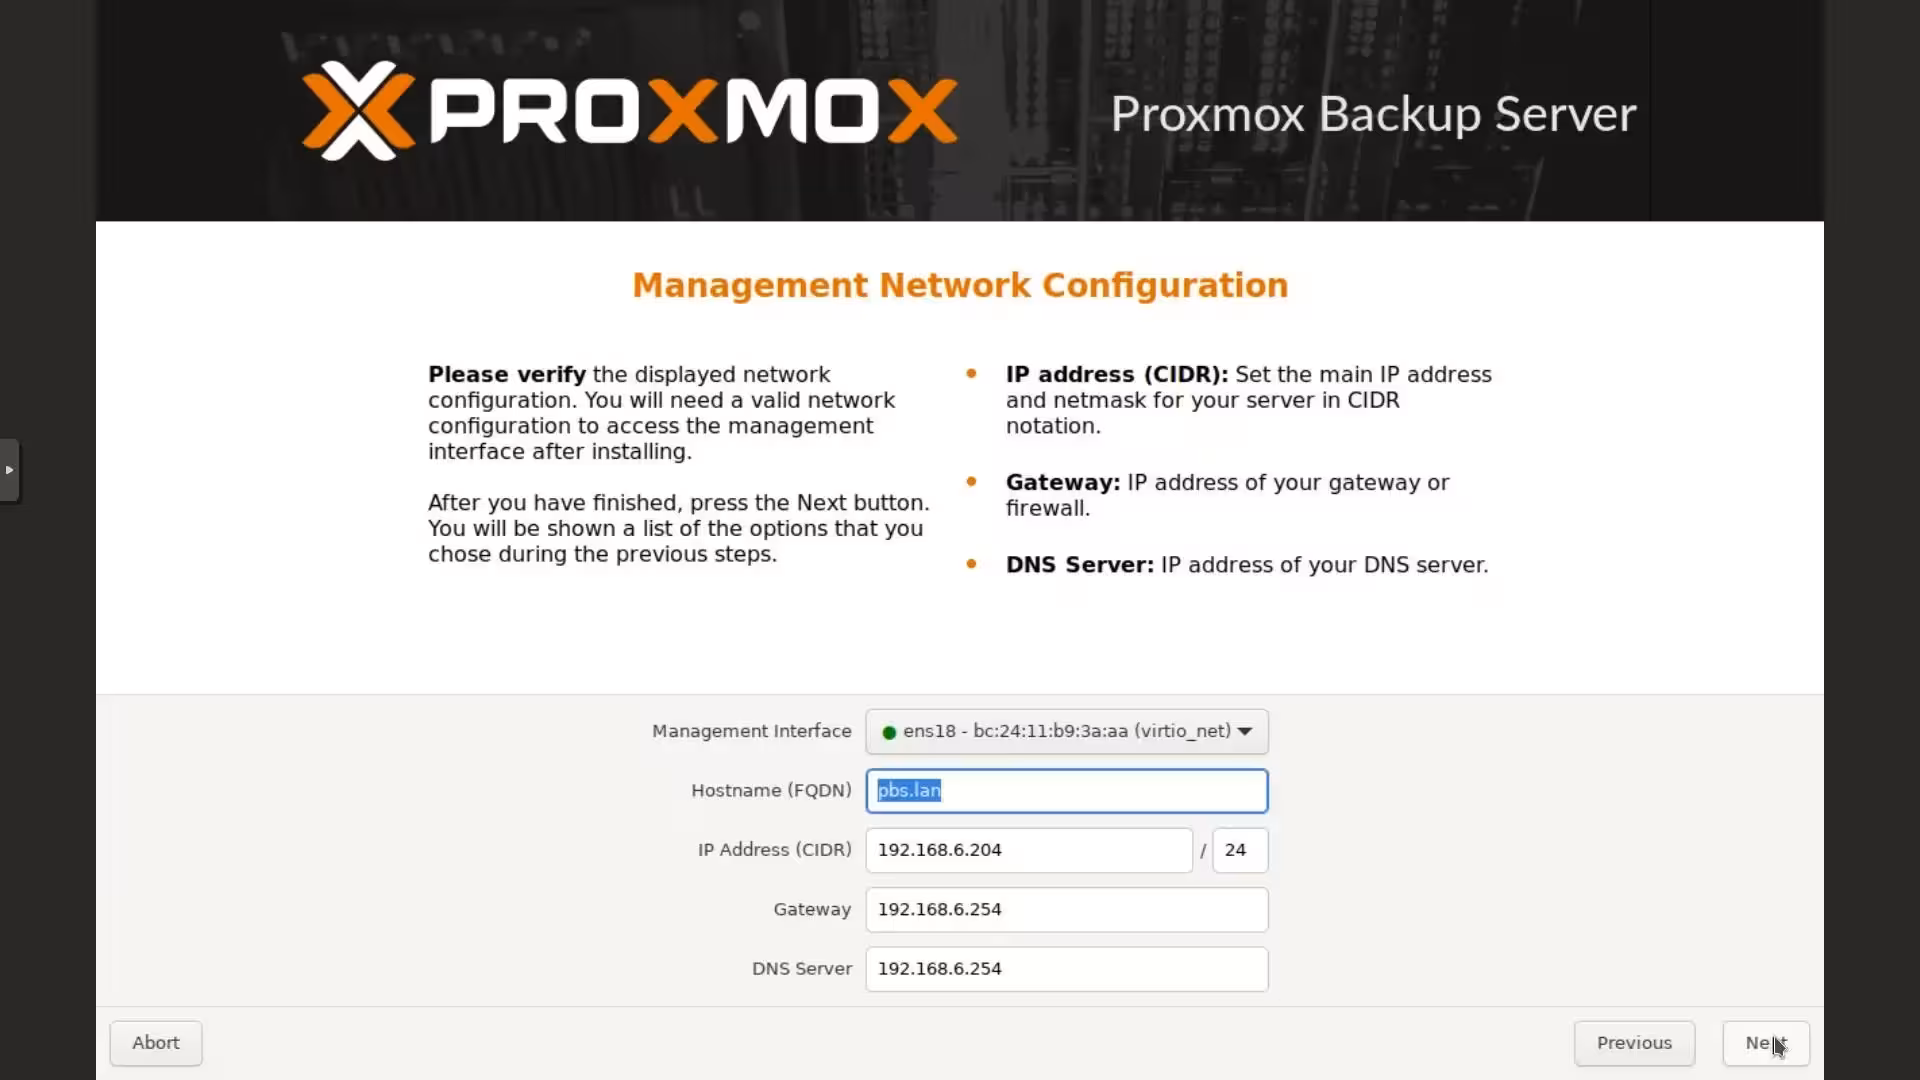
Configure the static IP address
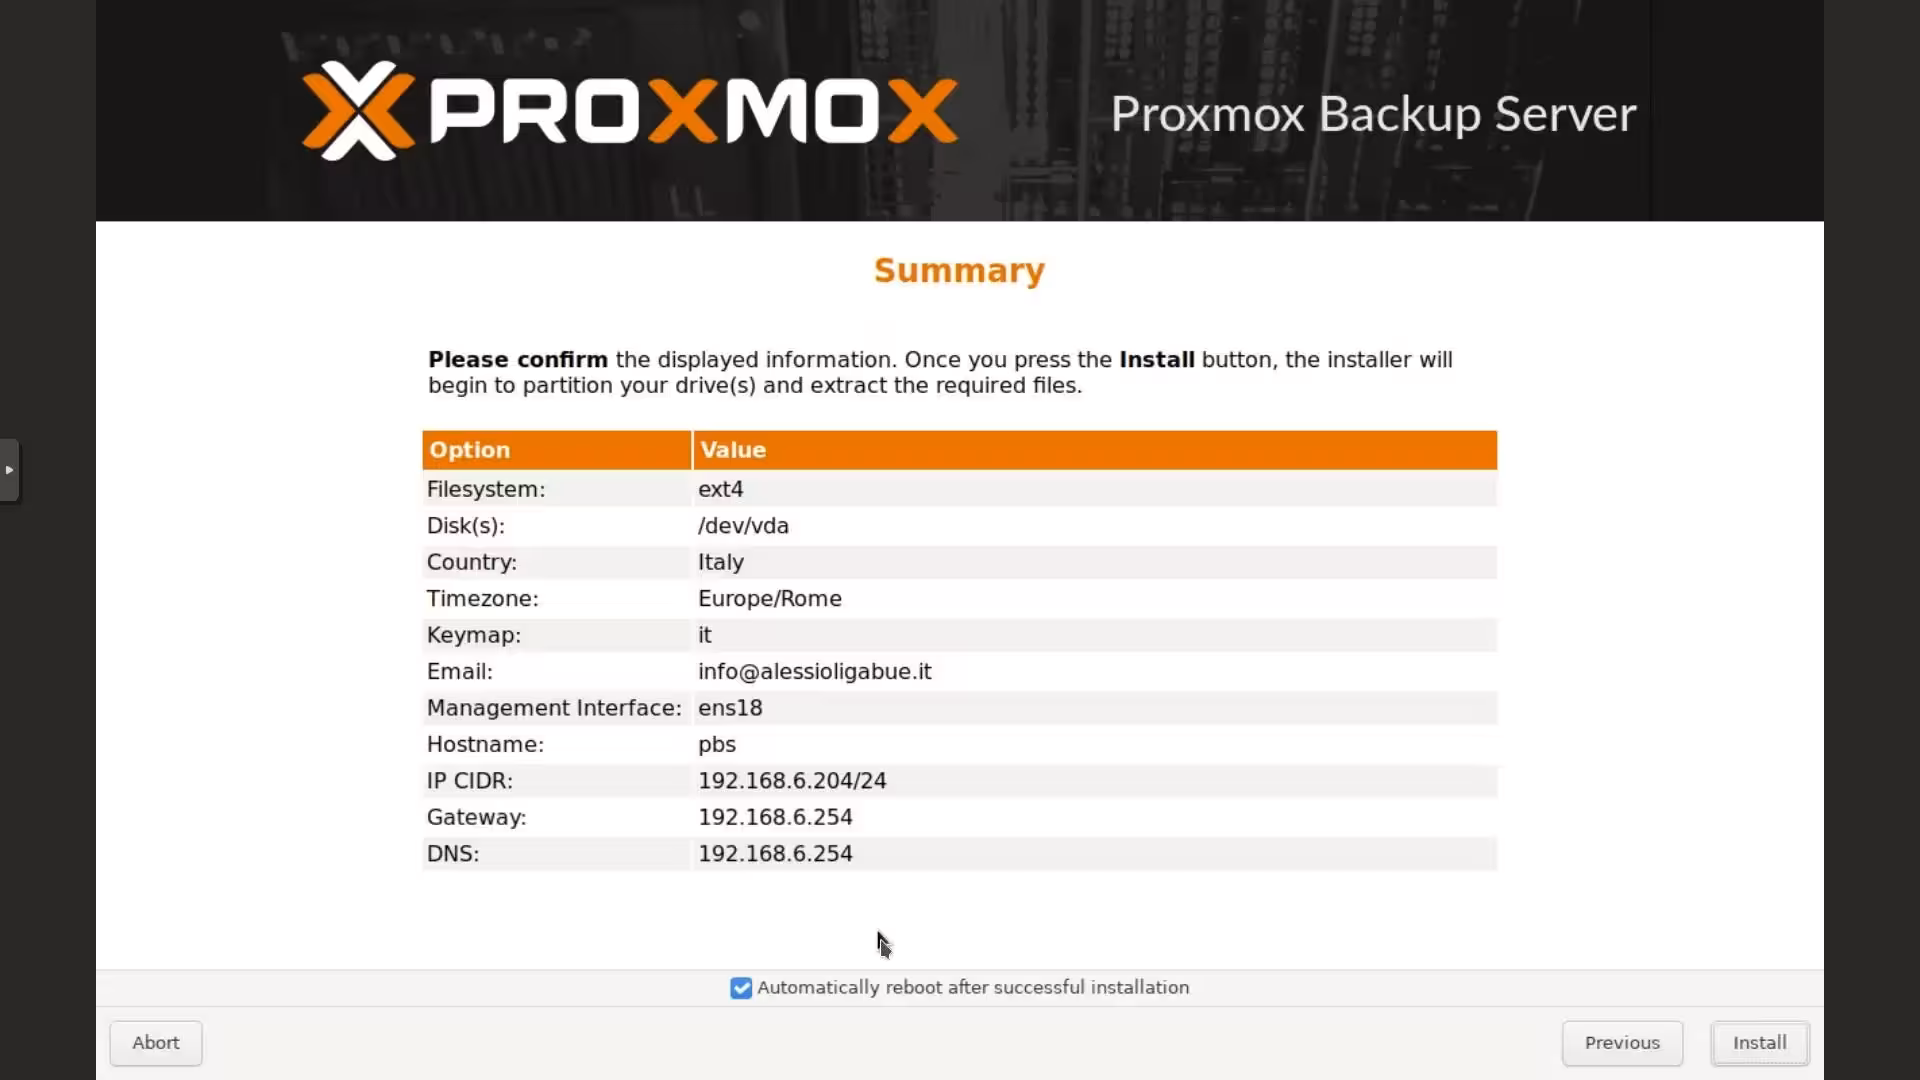
Review the configuration summary
Once the installation is complete, the console will appear with the login credentials and the web interface address
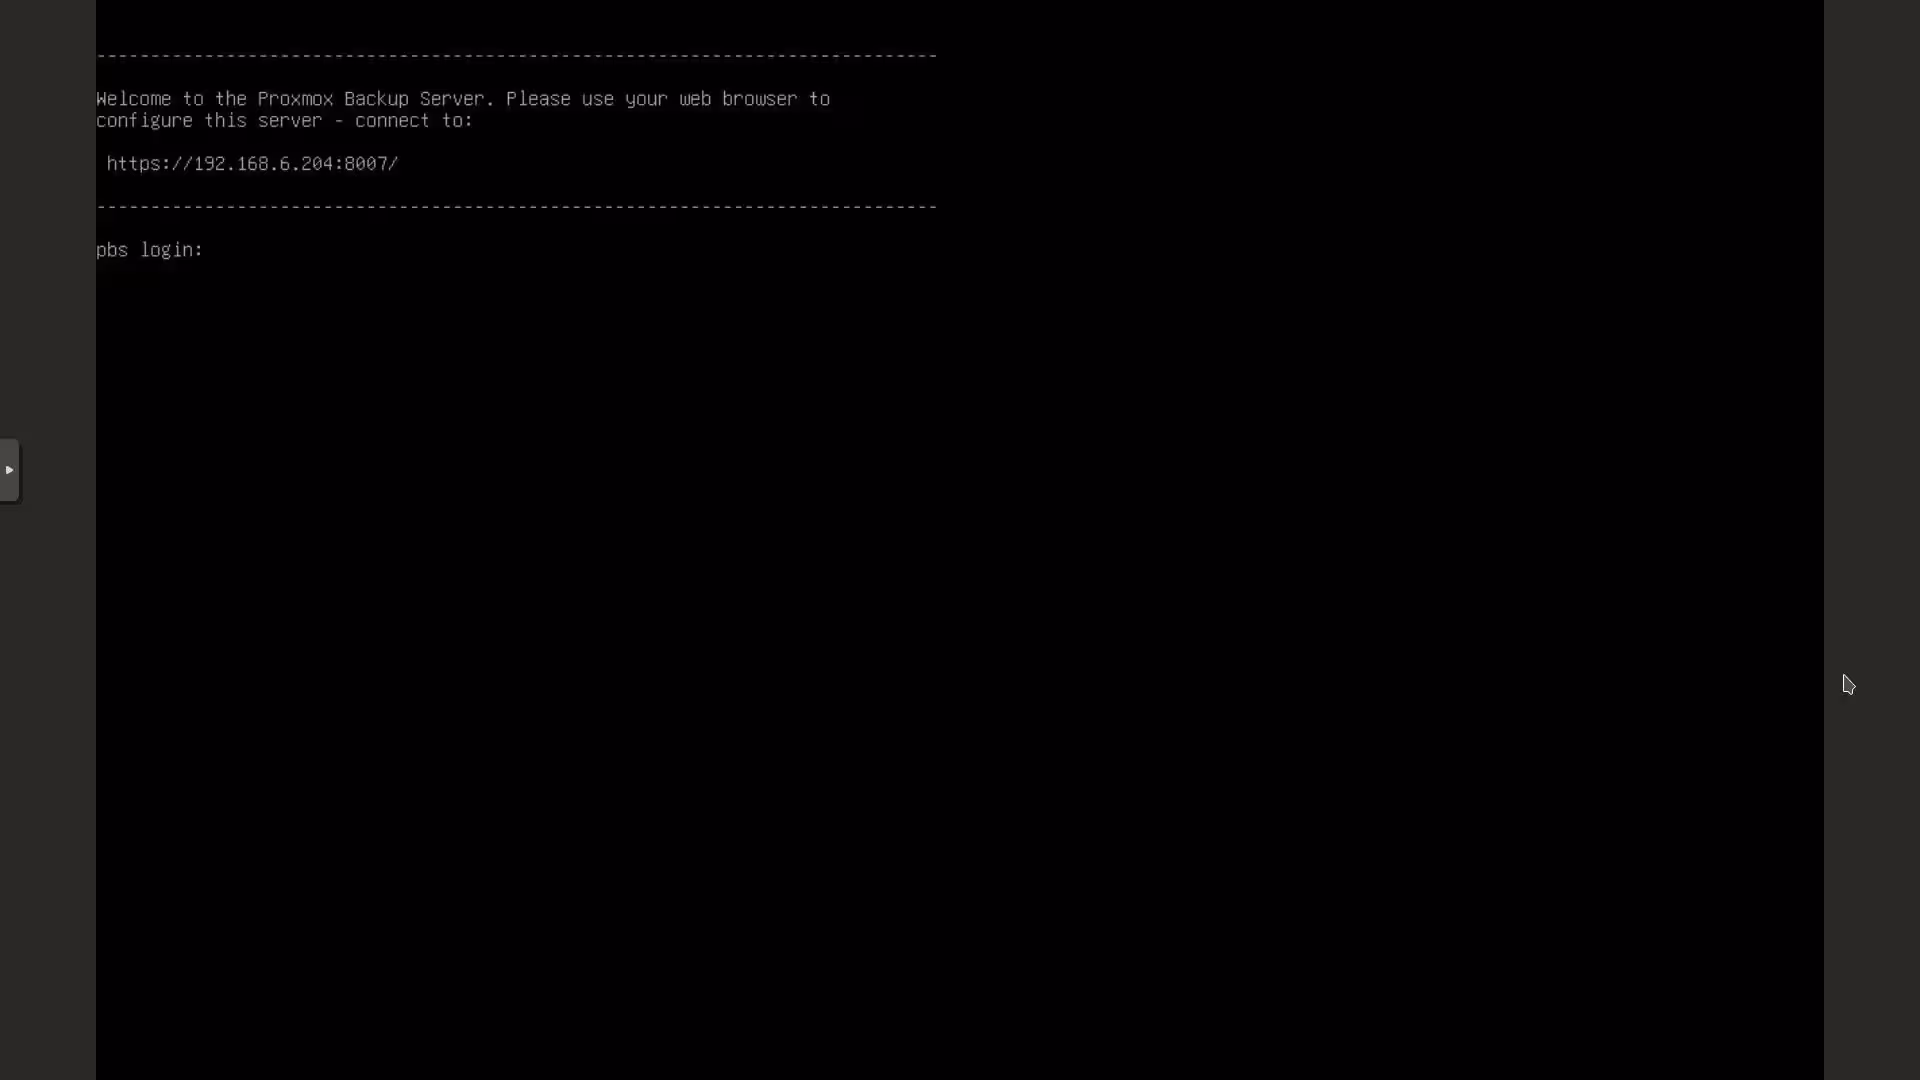
With this final step, we have successfully installed Proxmox Backup Server. Now that the system is up and running, the next step is to connect it to your cluster and set up the datastores. Discover all the operational steps in our dedicated guide to Proxmox Backup Server Configuration.
Optimization and backups are a job for specialists. Entrust your infrastructure to us and free up your team’s technical resources.
Frequently Asked Questions (FAQ)
1. What are the minimum system requirements for Proxmox Backup Server?
The minimum requirements for Proxmox Backup Server (PBS) are a server or a virtual machine (for test environments) with at least 2 cores, 4GB of RAM, and 2 disks, with at least 8GB of disk space for the system.
2. Can I run Proxmox Backup Server on a virtual machine?
Yes, Proxmox Backup Server can run on both physical hardware and a virtual machine, preferably within a PVE cluster. If you haven’t set up your primary node yet, follow our detailed guide on How to Install Proxmox VE 9. If you’re considering migrating your backups off-site following the 3-2-1 rule or want to design a secure hybrid environment, we can guide you through our cloud computing and infrastructure design consulting services.
3. How can I update Proxmox Backup Server?
You can update Proxmox Backup Server via the web management console or by using commands apt in the terminal.
4. Does Proxmox Backup Server support incremental backups?
Yes, Proxmox Backup Server supports incremental backups to optimize disk space and backup times.
Do you need assistance and advice on Proxmox? Discover our professional support services for Proxmox VE and Proxmox Backup Server.